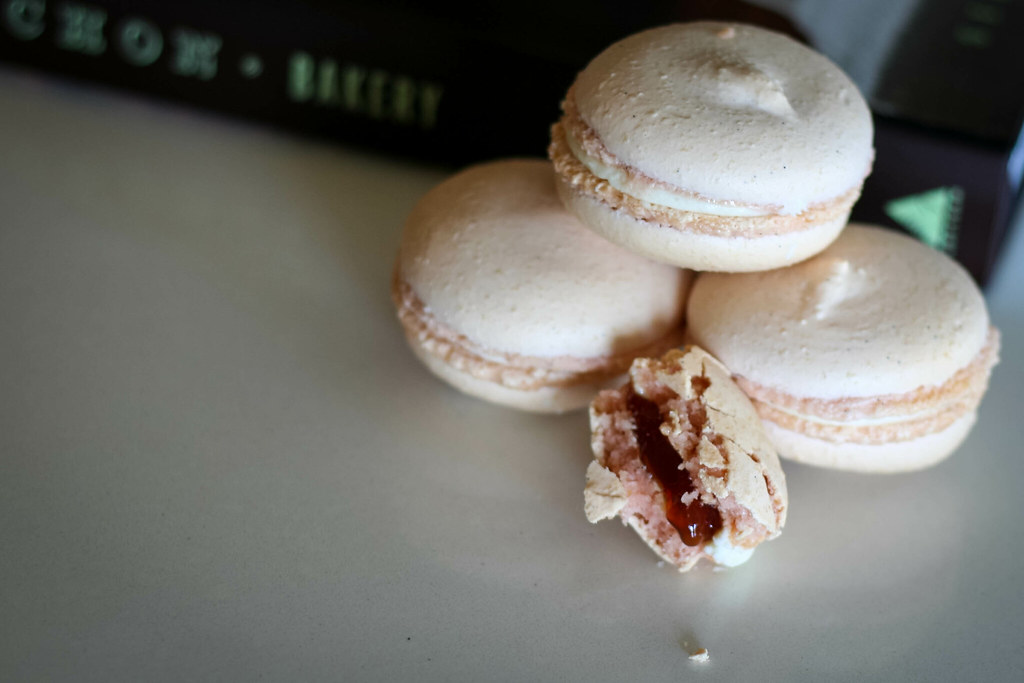
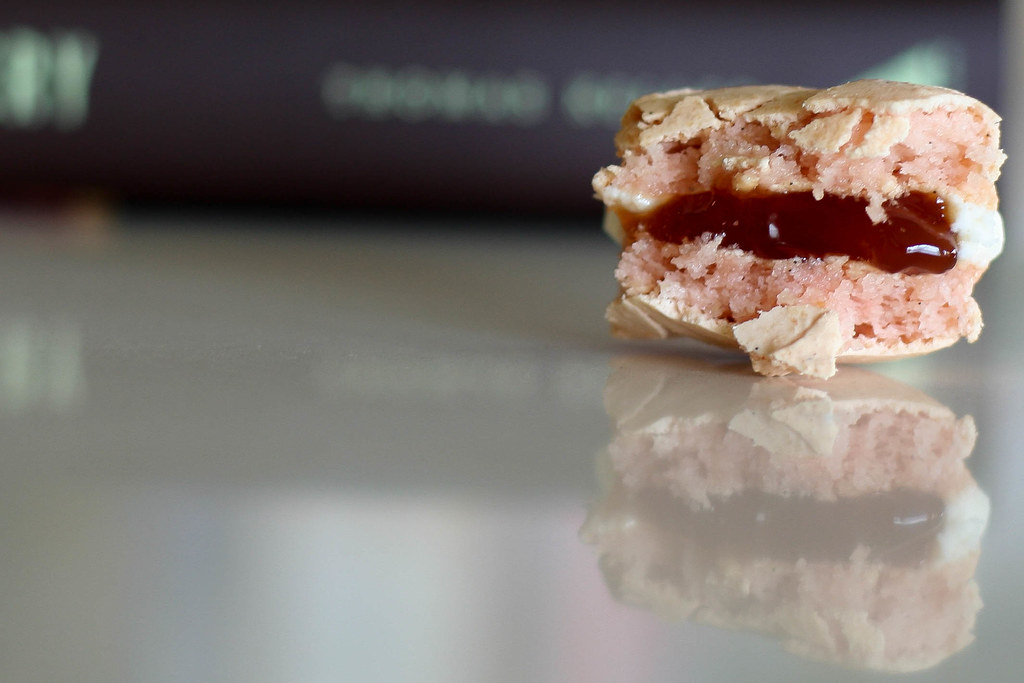
Guava & Cream Cheese Macarons

If you’re going to make macarons for the first time, purchase you go to the master. And the master of almost all things food is inarguably Thomas Keller. Another Thomas I know – my very own husband – gave me the Bouchon Bakery cookbook for Valentine’s Day because nothing says love in our house more than cookies, prothesis cakes, population health pies and tarts. (Though I would argue that this present is as much for him as it is for me. He’s the sweet tooth around here.)
As I was saying. This was my first time making macarons. And I’m not going to lie – I was pretty much convinced they would be a disaster. Especially after reading the recipe and seeing that egg whites were listed in GRAMS. However, rest assured that this recipe is not as complicated as it seems. Not to say that it’s as easy as throwing some cookie dough together, but if you’re looking for a special (and beautiful) treat, these are definitely doable as long as you have a mixer.

I based these off of Keller’s Raspberry macaron recipe and subbed Cream Cheese icing for the French Buttercream and guava jam for raspberries because if you’re from Miami, you always pair cream cheese with guava. It’s a magical combination. See here and here. The macarons were so much better than I was expecting. Crispy, crackling crust with a sweet and chewy interior. Keller recommends wrapping them individually and freezing them for a couple of days, which allows for the flavors to develop. I can attest that these were quite magical out of the freezer. My only complaint is that they are fairly large, especially for a macaron. I would make them 1-inch in diameter next time and reduce the baking time by 2 minutes or so. But they are almost perfect just the way they are.
Guava and Cream Cheese Macarons – Adapted from the Bouchon Bakery Cookbook by Thomas Keller & Sebastien Rouxel
For the Macarons
Almond flour/meal
1 3/4 cups + 2 1/2 tablespoons
Powder sugar
1 3/4 cups + 1 tablespoon + 2 teaspoons
Egg whites
1/4 cup + 1 1/2 tablespoons (Bitchin’ Camero:it’s about 2 egg whites from large eggs)
1/4 cup + 2 tablespoons (Bitchin’ Camero:about 2.5 egg whites from large eggs)
Granulated sugar, plus a pinch for the egg whites
1 cup + 3 tablespoons
Water
2/3 cup
Chefmaster Liqua-Gel Rose Pink food coloring (Bitchin’ Camero: I used a few drops of McCormick red food coloring)
3 – 4 drops
You will need a Thermapen or another candy thermometer, a pastry bag with a 1/2-inch plain tip, and a pastry bag with a 3/8-inch plain tip. Baking in a convention oven is preferable; the tops of the macarons baked in a standard oven often develop small speckles, which can affect the texture (though not the flavor)
——————————————
Because the cookies will be sandwiched, it is important that they be as close in size as possible. Even if you are proficient with a pastry bag, we suggest making a template, as we do. Use a compass or a cookie cutter as a guide and dark marking pen, such as fine-tip Sharpie.
1. Lay a sheet of parchment paper. Trace 4 evenly spaced 2 1/4-inch circles along the top long edge, leaving 1 inch of space between them. Trace 3 circles below them, spacing them between the first circles. Continue with another row of 4, followed by another row of 3. Turn the parchment paper over and lay it on a sheet pan. Lift up each corner of the parchment and spray the underside with nonstick spray to keep it from blowing up while cookies are baking. Repeat with a second sheet pan and piece of parchment paper.
2. Preheat the oven to 350°F (convection) or 400°F (standard).
3. Place the almond flour in a food processor and pulse to grind it as fine as possible. (Bitchin’ Camero: I skipped this step because I am lazy.)
4. Sift the almond flour (Bitchin’ Camero: I skipped this step because I am lazy.) and powdered sugar into a large bowl and whisk together. Mound the almond flour mixture, then make a 4-inch well in the center, leaving a layer of the flour at the bottom. Pour in the 82 grams | 1/4 cup plus 1 1/2 tablespoons egg whites and combine with a spatula, stirring until evenly distributed. Set aside.
5. Place the remaining 90 grams/1/4 cup plus 2 tablespoons egg whites in the bowl of a stand mixer fitted with the whisk attachment. Combine the 236 grams | 1 cup plus 3 tablespoons granulated sugar and the water in a small saucepan and heat over medium-high heat until the syrup reaches 203°F/110°C.
6. Letting the syrup continue to cook, add the pinch of sugar to the egg whites, turn the mixer to medium speed, and whip to soft peaks. If the whites reach soft peaks before the syrup reaches 248°F/12o°C, reduce the speed to the lowest setting, just to keep them moving.
7. When the syrup reaches 248°F/120°C, remove the pan from the heat. Turn the mixer to medium-low speed, and slowly add the syrup, pouring it between the side of the bowl and the whisk; the meringue will deflate. Increase the speed to medium and whip for 5 minutes, or until the whites hold stiff, glossy peaks. Although the bowl will still be warm to the touch, the meringue should have cooled; if not, continue to whip until it is cool.
8. Fold one-third of the meringue into the almond mixture, then continue adding the whites a little at a time ( you may not use them all) until when you fold a portion of the batter over on itself, the “ribbon” slowly moves. The mixture shouldn’t be so stiff that it holds its shape without moving at all, but it shouldn’t be so stiff that it holds its shape without moving at all, but it shouldn’t be so loose that it dissolves into itself and does not maintain the ribbon; it is better for the mixture to be slightly stiff than too loose. Add 3-4 drops of food coloring into the finished meringue mixture and mix well.
9. Transfer the mixture to the pastry bag with the 1/2-inch tip. Hold the bag upright 1/2 inch above the center of one of the traced circles and pipe out enough of the mixture to fill in the circle. Lift away the pastry bag and fill the remaining circles on the first pan. Lift up the sheet pan and tap the bottom of the pan to the spread the batter evenly and smooth any peaks left by the pastry bag. If using a convection oven, bake for 8 to 10 minutes, until the tops and shiny and crisp. If using a standard oven, place the sheet pan in the oven immediately lower the oven temperature to 325°F, and bake for 9 to 12 minutes, until the tops are shiny and crisp. Set the pan on a cooling rack and cool completely. If using a standard oven, preheat it to 350°F again.
10. Pipe the remaining meringue mixture into the circles on the second sheet pan and bake as directed above. Let cool completely.
——————————————
Cream Cheese Frosting for the filling
(makes about 3 cups)
1 1/2 pounds cream cheese, at room temperature
1/2 pound (2 sticks) unsalted butter, cut into chunks, at room temperature
1 1/2 cups powdered sugar, sifted
1 teaspoon vanilla paste or pure vanilla extract
In the bowl of a stand mixer fitted with the paddle, beat the cream cheese at medium speed until smooth. Add the butter and mix until smooth. Beat in the powdered sugar, then add the vanilla. Scrape down the sides and beat for 30 seconds on high speed.
——————————————
3/4 cup guava jam or jelly
TO FILL THE COOKIES
1. Transfer the frosting to the pastry bag with the 3/4-inch tip.
2. Remove the macarons from the parchment paper, turn half of them over. Starting in the center, pipe the frosting around the edge on one upside-down macaron, making a ring around the edge. Add a dollop of guava jam in the center. Top with a second macaron and press gently to spread the frosting to the edges. Repeat with the remaining macarons and filling.
The macarons are best if wrapped individually in a few layers of plastic wrap and frozen for at least 24 hours or up to 2 weeks.. Defrost in the refrigerator for 3 hours, then bring to room temperature before serving. They can be served the day they are made or stores in a covered container in the refrigerator for up to 2 days. (Bitchin’ Camero: They can also be eaten directly from the freezer and are plenty good that way!)